Automation's Trigger Features
Send Email Trigger
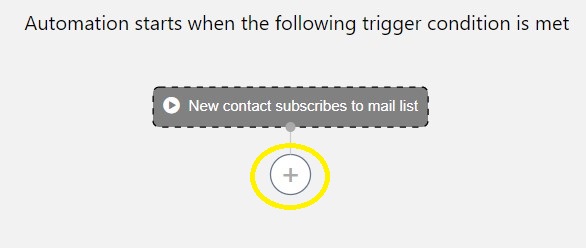
After adding the first trigger, Click on the plus button
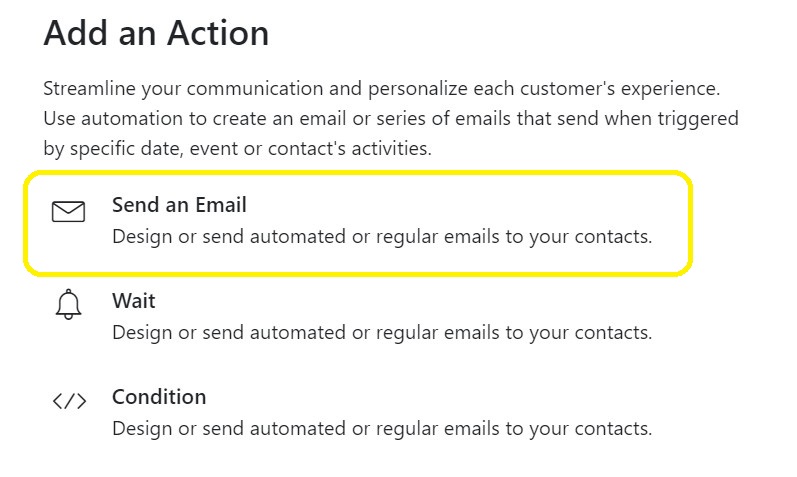
Then choose "Send an email"
After That, you need to fill up the information below
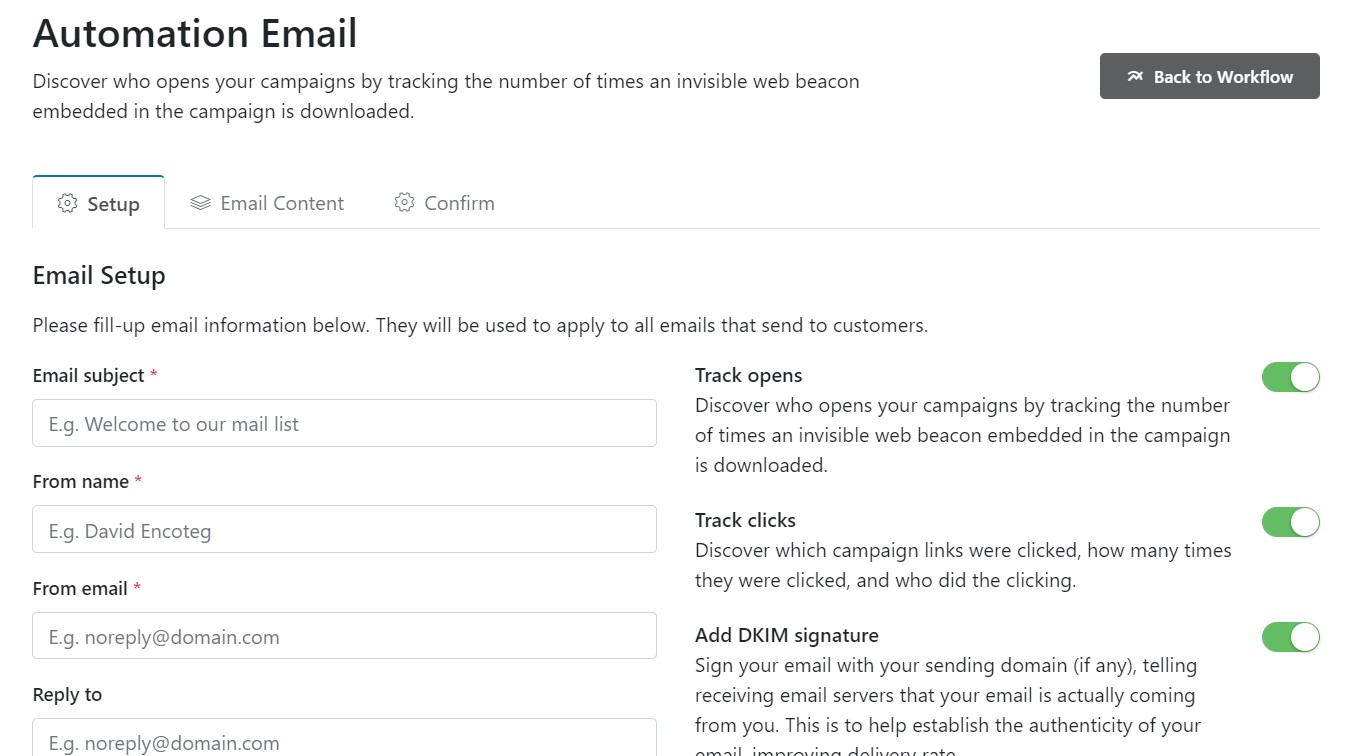
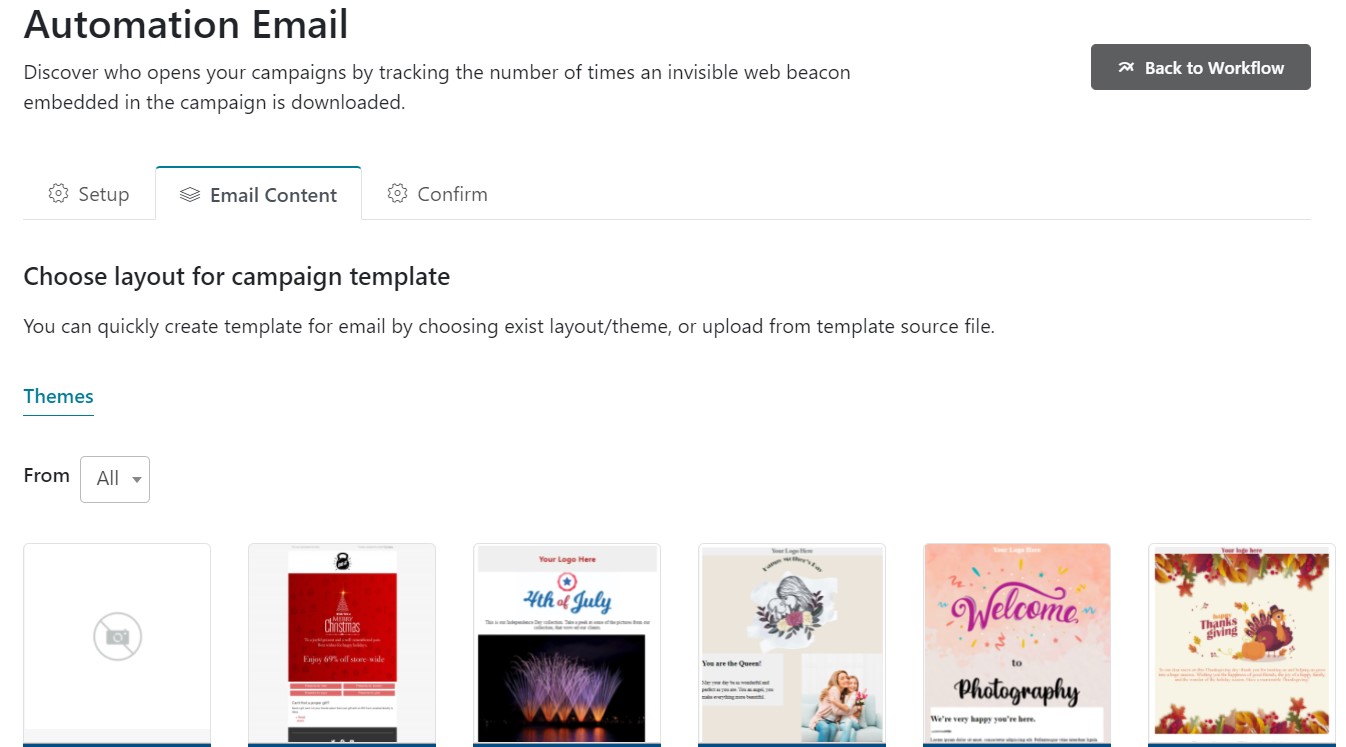
Click on Save & Next on the right bottom, then choose the email template
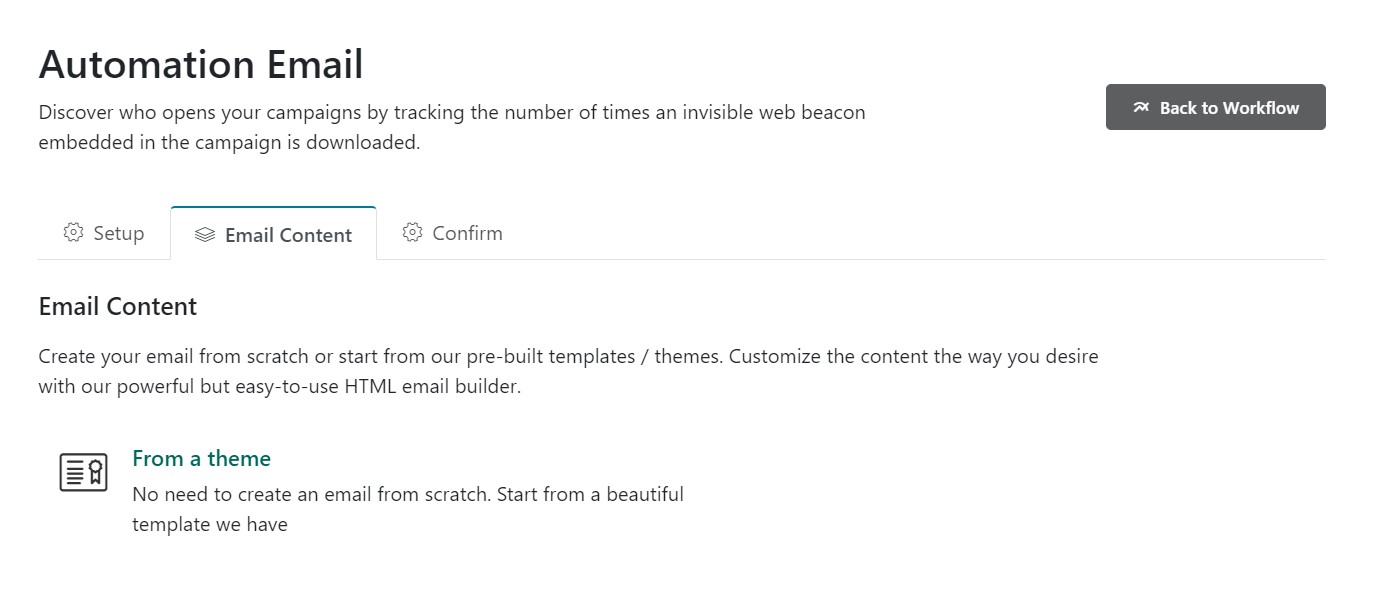
Click on the From a theme to choose a template
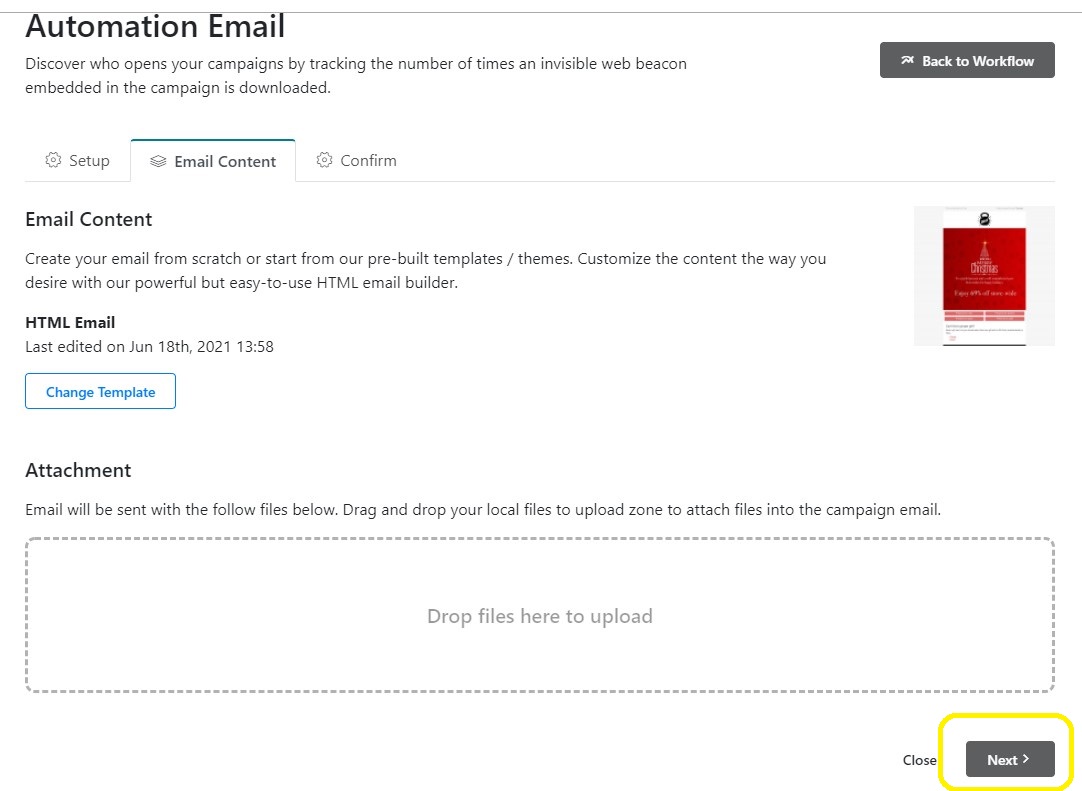
Review your email and add an attachment to the email if you want then click on the Next button
A Final review for the trigger to edit or set up again the email trigger
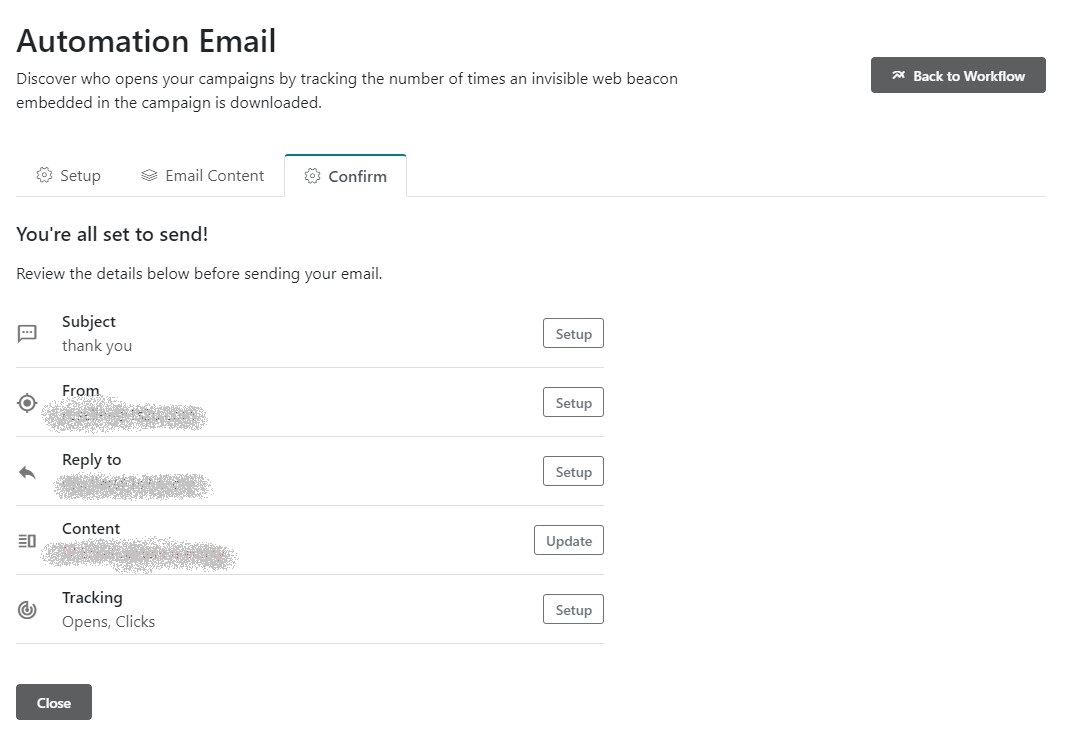
If everything is okay for you, click on the Close button, Your email trigger has been set
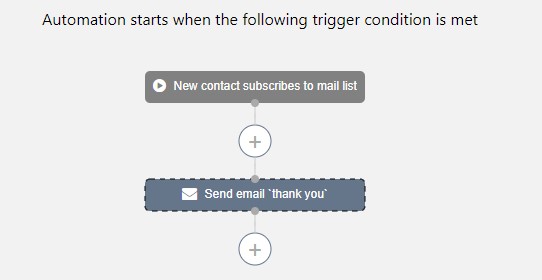
The Wait Trigger
The wait trigger allows you to give a time before the second trigger start
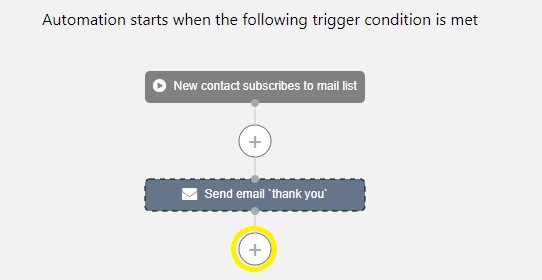
Click On the plus button to add a wait trigger
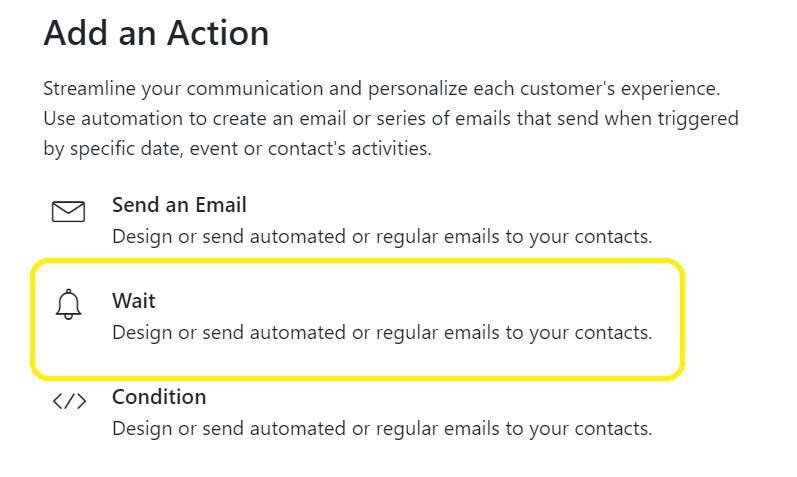
Then choose the "Wait" option
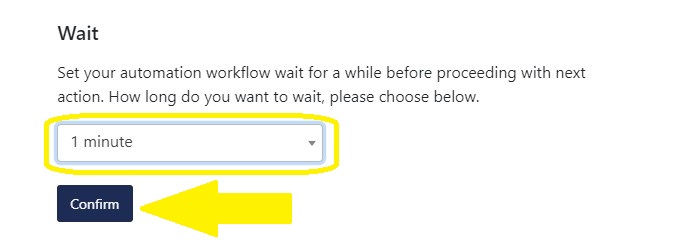
Choose for how long you want to wait from the dropdown menu, and then click on the Confirm button
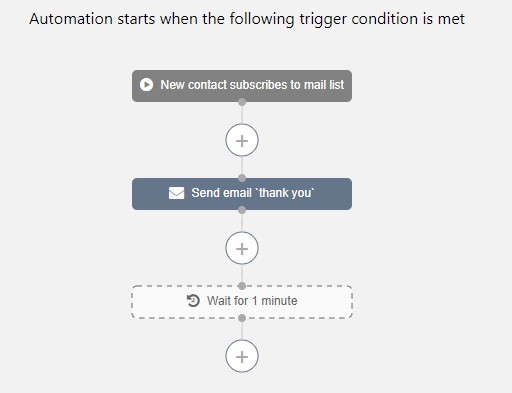
Your Wait Trigger has been set
The Condition Trigger
The Condition Trigger gives you the ability to add a condition and action depends on that condition
To add The Condition Trigger click on the plus button
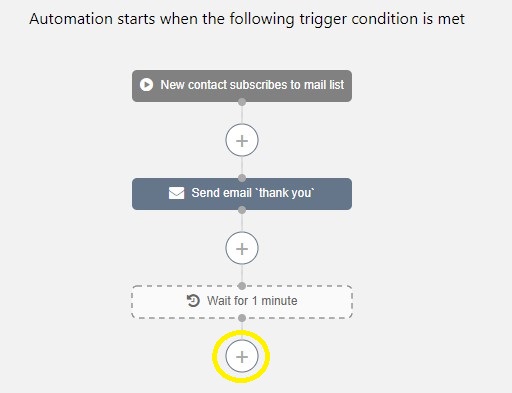
Then Choose the Condition option
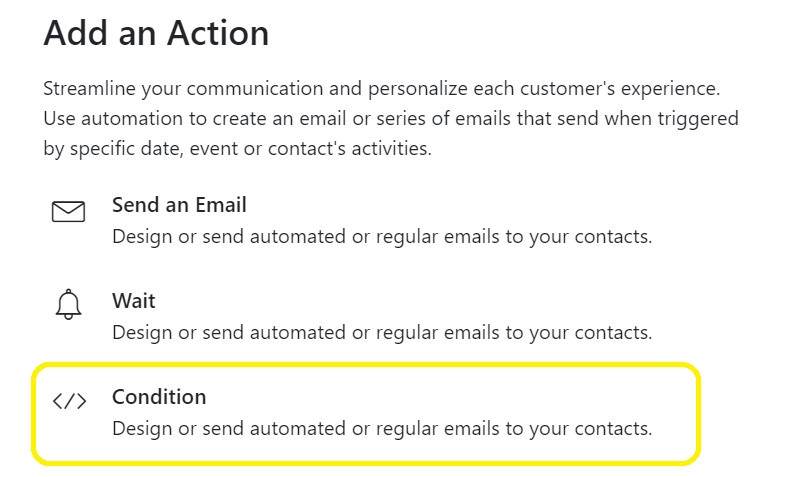
After that, you have two options and you need to choose one for each condition
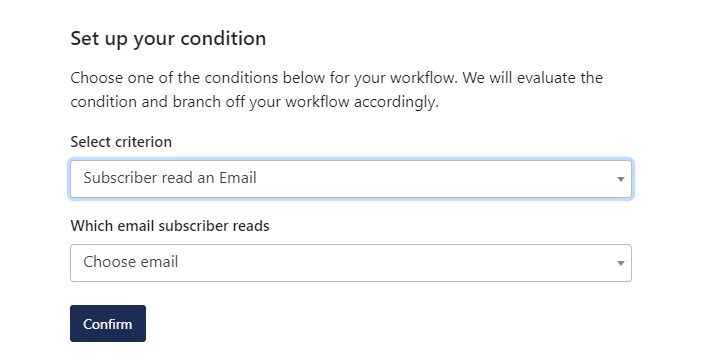
- Subscriber read an Email:
This condition will give you the ability to send an email or wait or add another condition depend on if the subscriber read the email or not - Subscriber click on a link:
If you have added a link inside the email you sent before, the will make you choose what to do if the subscriber clicks on that link or not
After Choosing the condition, click on Confirm button and you need to set up the second step
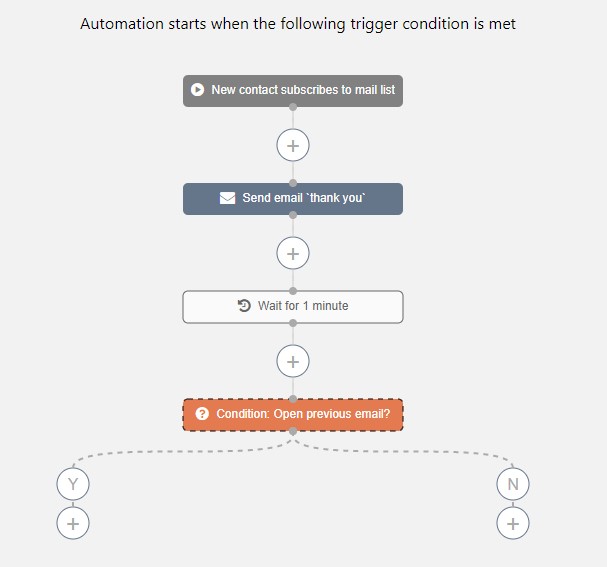
Here you need to add what you want to happen if it's "yes" or "no", you can add more triggers and conditions
After you finish Setting up your automation campaign, don't forget to start it by switch the paused button on the right
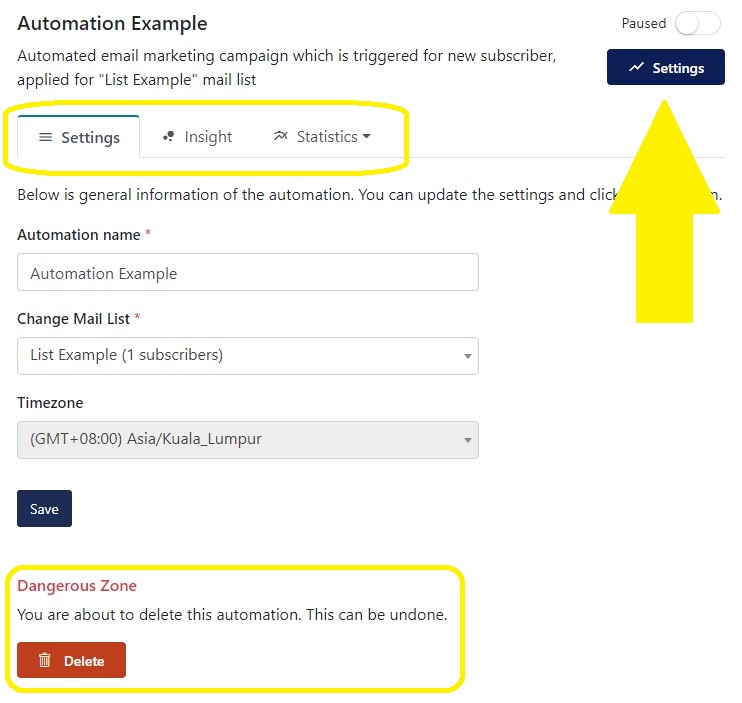
Also, you can review many information about this automation campaign, and you can delete it if you want
Start With FloppyEmail Now!