Once your list and forms are set up, you can start building an email campaign.
A campaign is a message that you share through email. You’ll select what type of campaign you’d like to create, pick the perfect template, design and test your email, and then send it off to your subscribers.
On Your Dashboard, Go To Campaigns -> Campaigns
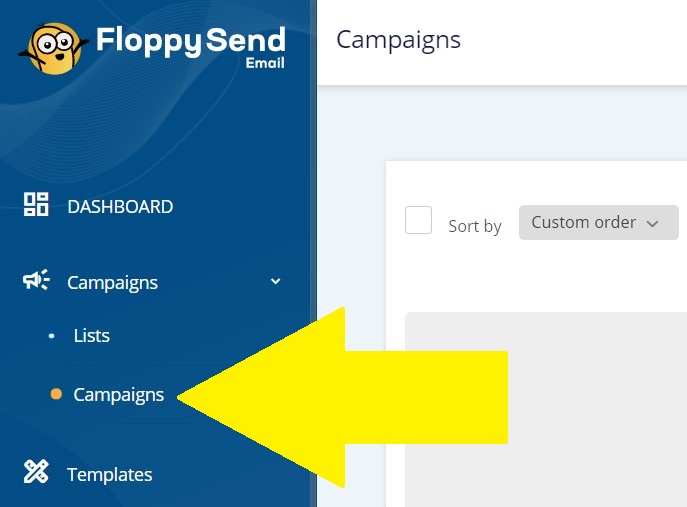
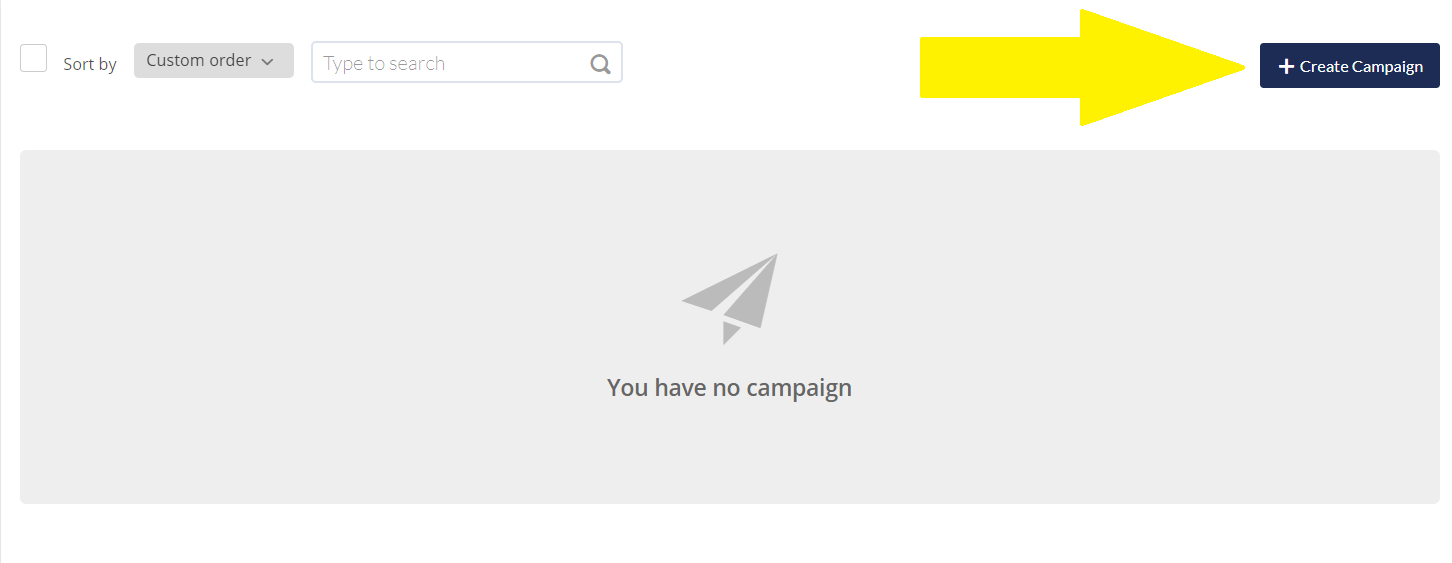
Click the Create Campaign button on the top right corner.
Choose Your Campaign Type
FloppyEmail has 2 types of email campaigns to choose from.
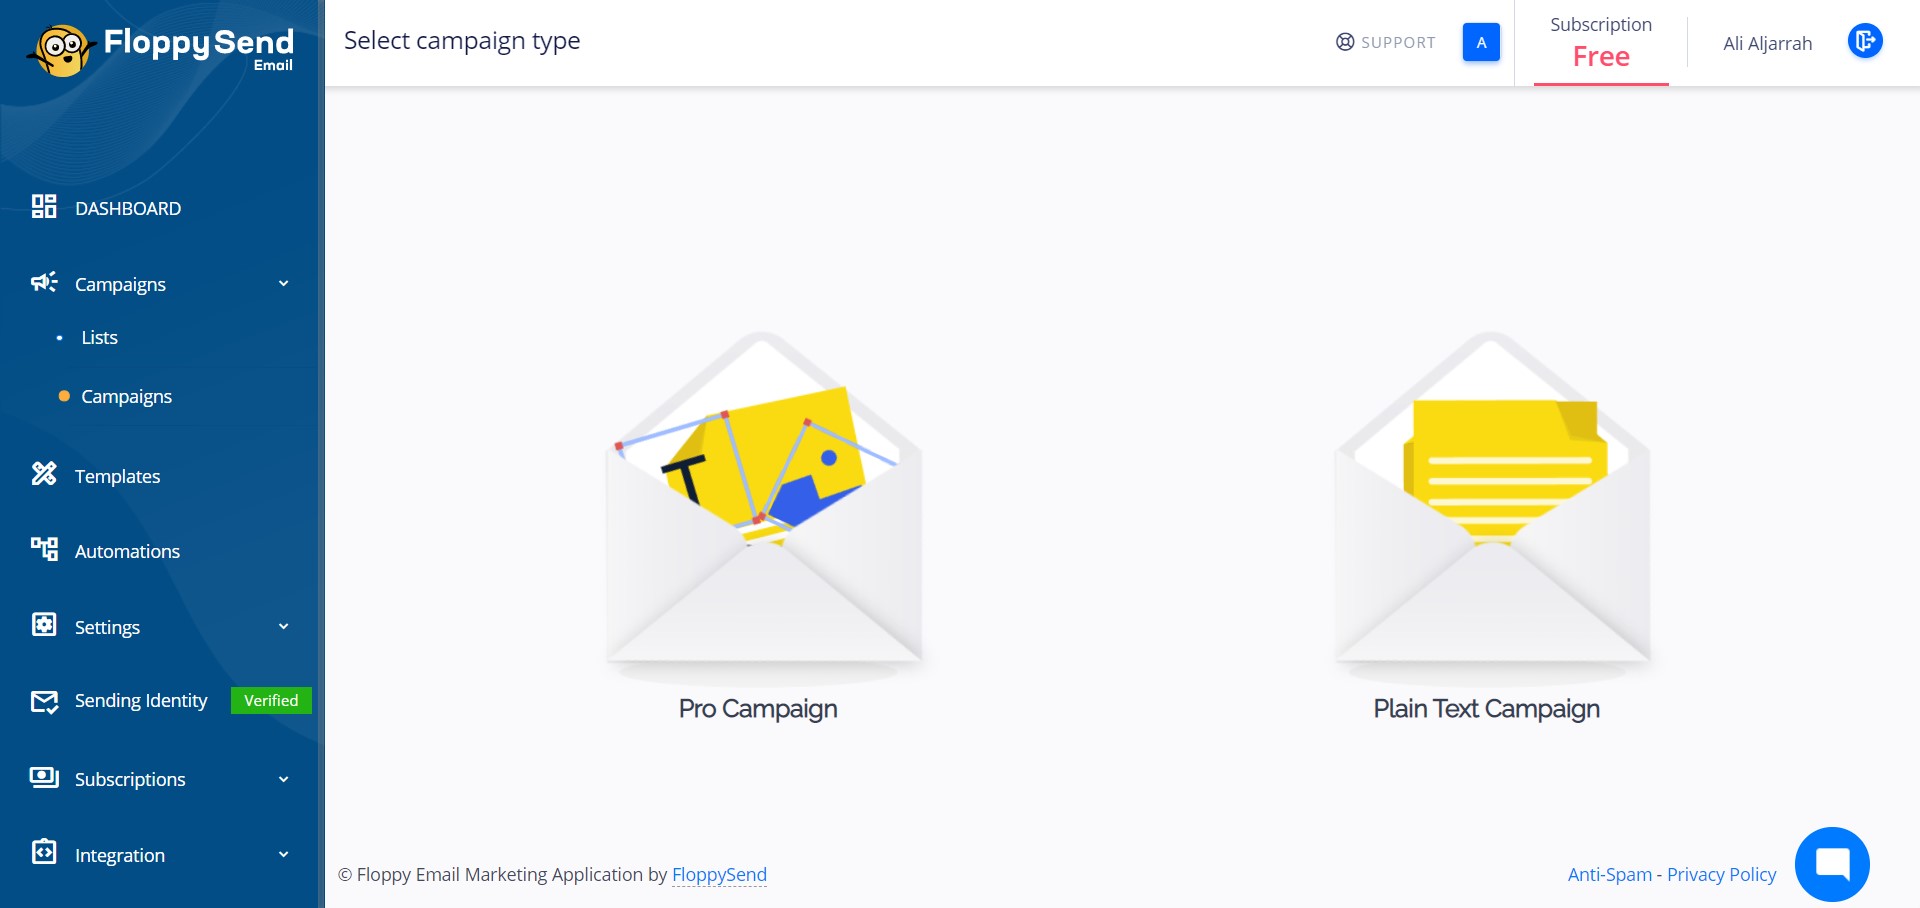
Here’s a quick rundown of your options:
Regular campaigns are the most common type of HTML email our users send. They can be formatted and customized with images, colors, and other design elements to fit the needs of your business.
Plain-text campaigns are the simplest form of email you can send. These campaigns will only contain text and have no formatting options.
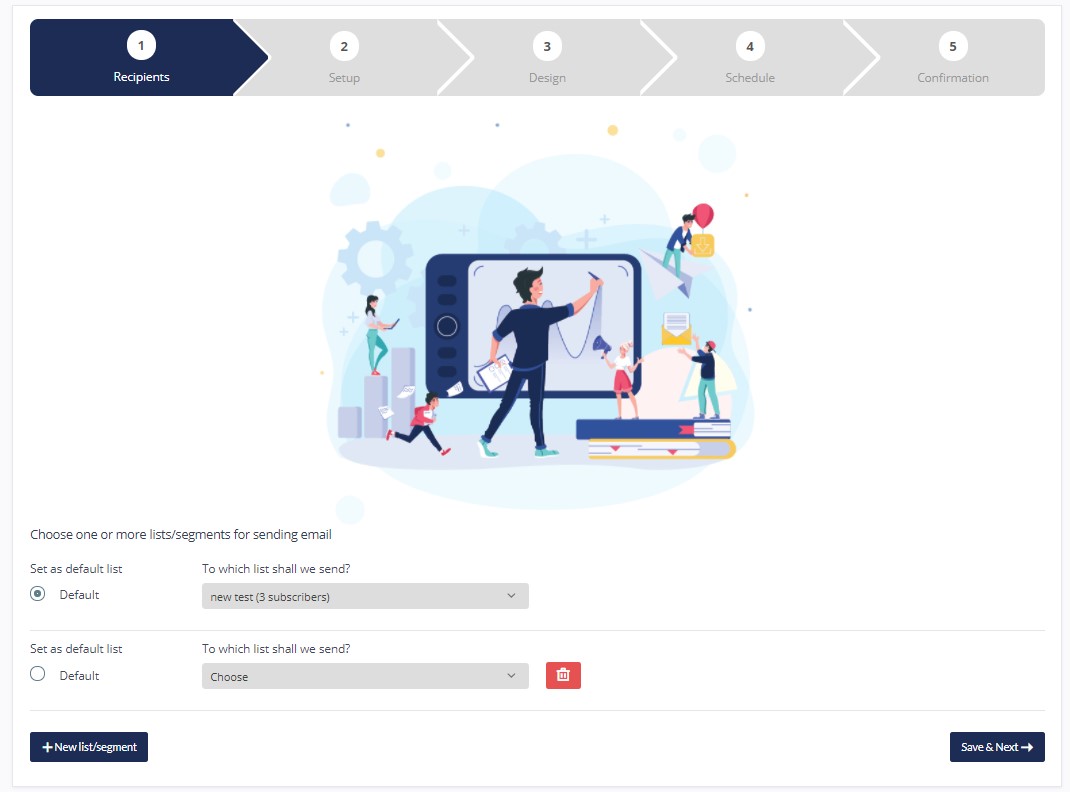
Select Recipients From A-List
Select the list that you want to send the campaign to and add more by clicking on New List/Segment button
Then click “Save & Next”.
Setup Your Campaign
The Campaign Details area, located on the top, allows you to specify information about the campaign:

- Name your campaign:
The title of the campaign - Email Subject:
Subject message for the campaign - From Name:
The message sender's name. This is automatically populated with the default Sender Name from your account preferences or the chosen sender's details and can be manually changed if needed. - From E-Mail:
The message sender's email. This is automatically populated with the default Sender email from your account preferences. If you have several sender IDs submitted, you will be able to choose from the options. You will also be able to edit the chosen sender's details without leaving the page. - Reply to:
The email address for replies. This is automatically populated from the "From e-mail" field and can be manually changed if needed. - Track Opens:
Track who opens the newsletter/ campaigns - Track Clicks:
Track clicks on links in the HTML version. - Add DKIM Signature:
This is to help establish the authenticity of your email, improving the delivery rate. - Custom Tracking Domain:
Using a tracking domain causes all the links and URLs in your emails to be overwritten as if they come from your own brand's domain (rather than from this application hostname), making your email more authentic and more likely to reach recipients INBOX.
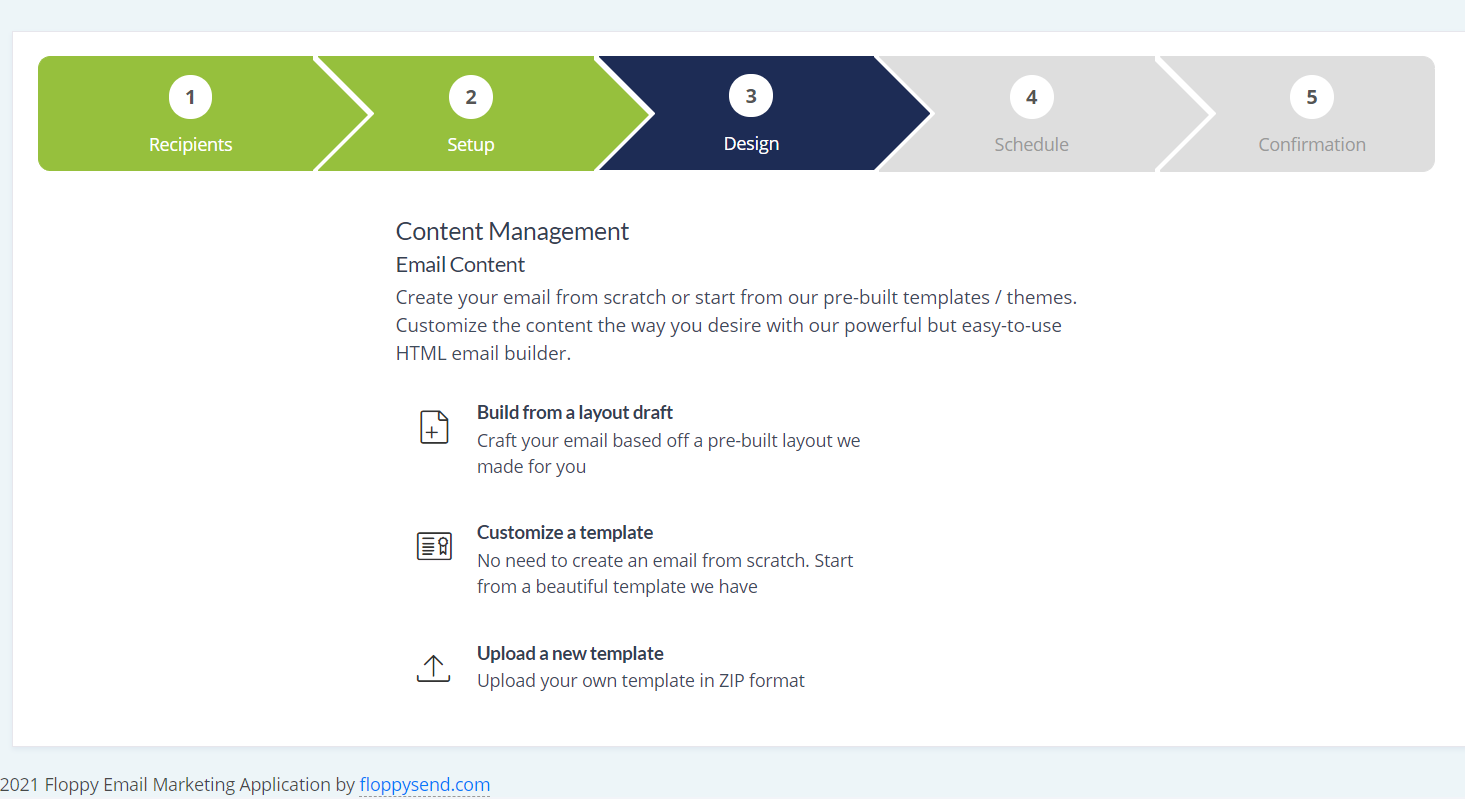
Design Your Campaign
Create your email from scratch or start from our pre-built templates/themes. Customize the content the way you desire with our powerful but easy-to-use HTML email builder. Choose from any of the three options on how you wish to build your design.
In the next step, you will be redirected to our powerful email template builder where you will be able to add remove or modify content as you wish. Give it a try now!
Are you done with your email design? Are you happy? If you have any files to attach to your email,
please attach them in this section. If you wish to make any changes in your design, click change template and it will bring it back to the email editor for you to make changes or you can choose a new template to re-edit again.

If all are good to go, let’s jump to the next step by click “Save & Next”.
Schedule The Delivery Date & Time
In this step, you can set your schedule the delivery date & time. Once you set a date and time, you will never get a reconfirmation notification on the day, and the campaign will be sent out.
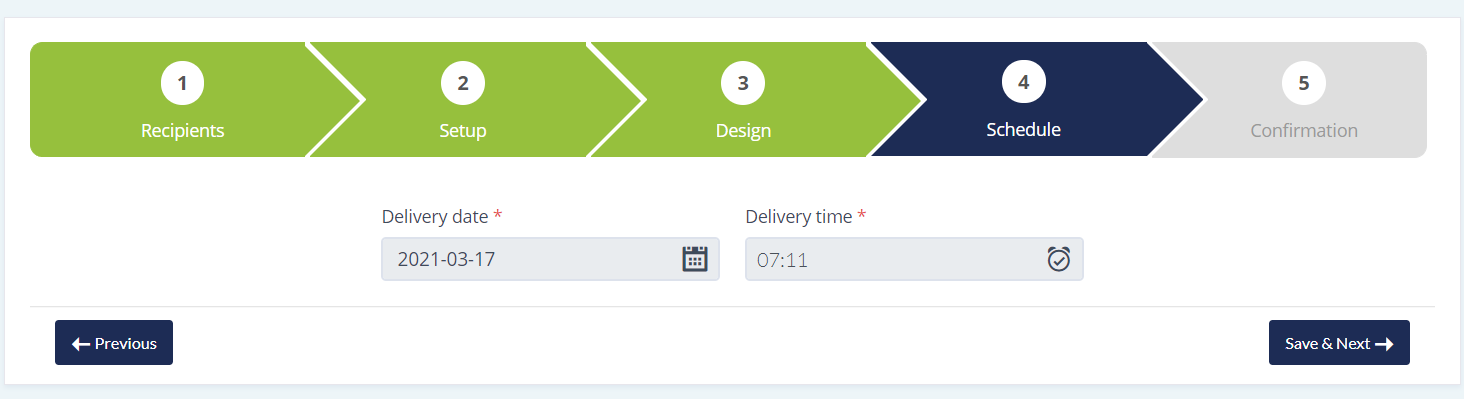
If you wish to send the campaign immediately, just proceed to the next step.
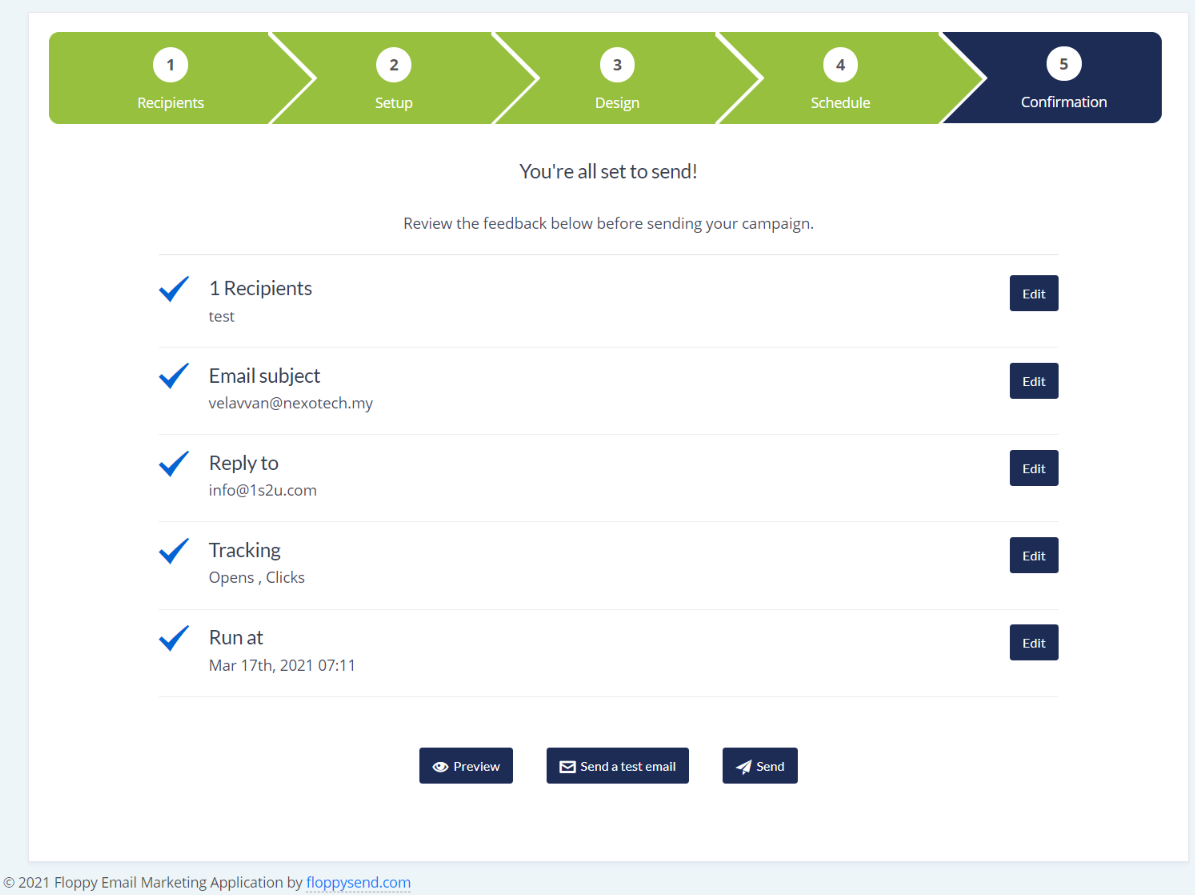
Confirmation
You made it to the final step! It must be an excited and nerve-wracking moment before you click the Send button. So before click Send, check out all the details that are correct. Click preview to view your email again, and most importantly send a test email to yourself or your colleague to view how it will look in a real email. Are you ready? Then let’s click send and take a break. Your campaign will send out in a few minutes' time based on your recipients’ number. If the number is high it might take few extra minutes at the usual time.
To view your send report, click Campaign, and on Actions, click the button on which campaign you wish to check the reports. Find for report/result option to view the statistics. How many clicks, how many unique open, who opened your emails, what is the bounce rate or click-through rate, how many unsubscribes? You will get all the answers in your report. Check it out.
Start With FloppyEmail Now!